
How the Custom Merch Proofing Process Works
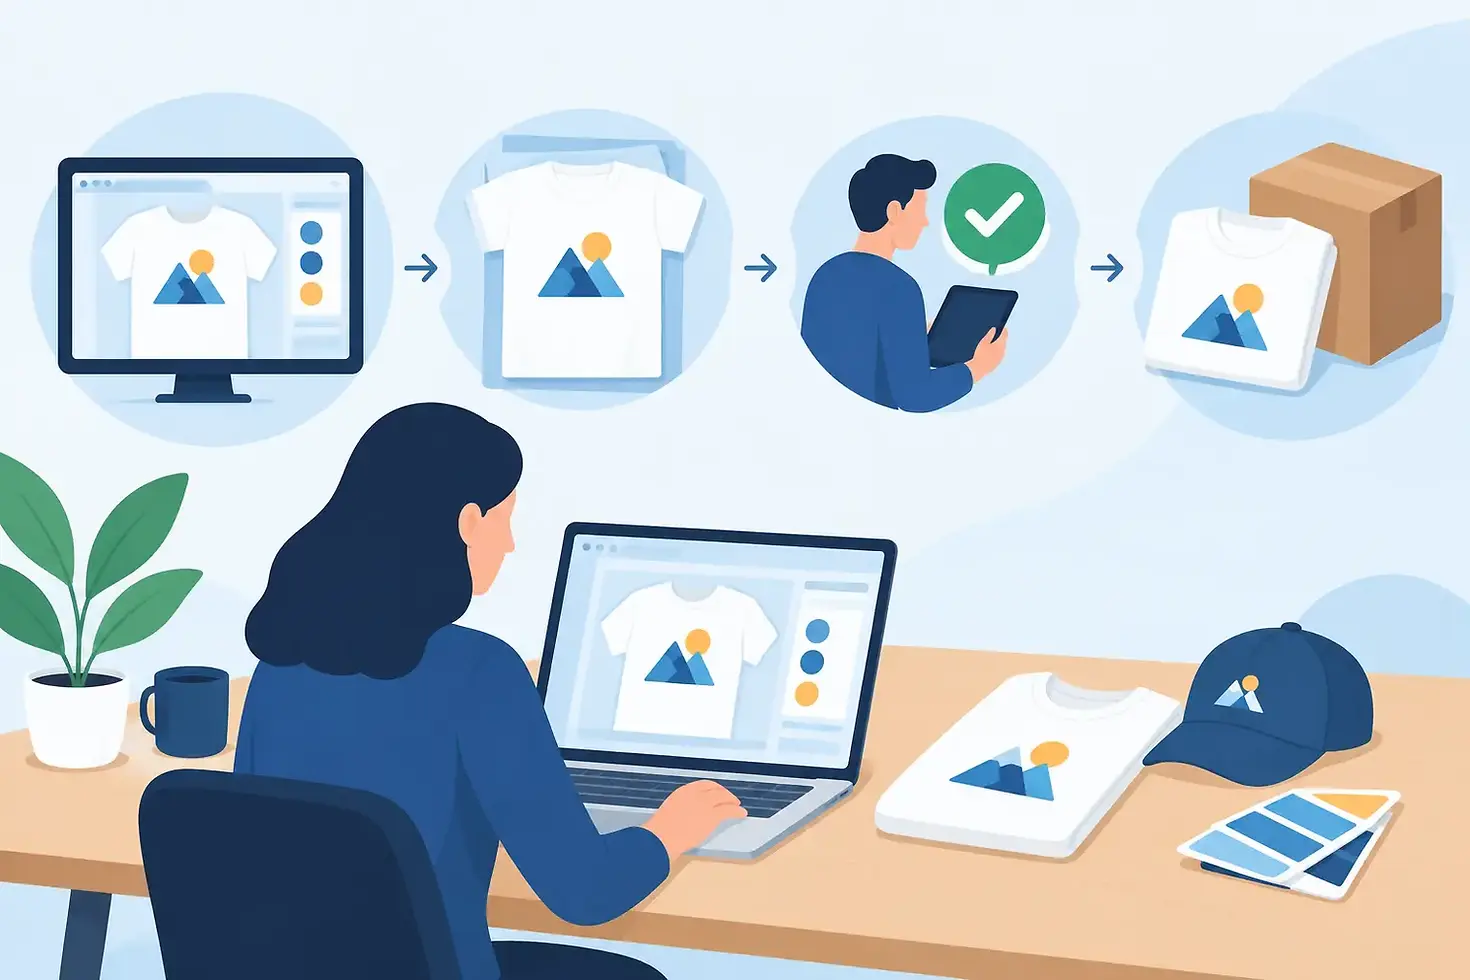
A logo can look sharp on a computer screen and still miss the mark on a polo, hoodie, hard hat, or event giveaway. A clear custom merch proofing process is what closes that gap before production starts. It gives your team a final look at the decoration, placement, colors, and product details so the finished merchandise reflects your brand the way it should.
For business buyers, proofing is not a formality. It is the point where a uniform program, trade show order, employee gift, or client-facing apparel order becomes specific enough to produce correctly. The right proof catches small details before they become expensive reprints, delayed deliveries, or apparel your employees do not want to wear.
What a Custom Merch Proofing Process Should Confirm
A proof is a production-ready visual representation of your order. Depending on the decoration method and product, it may show the garment color, logo artwork, imprint location, approximate size, thread or ink colors, and any personalization such as employee names or job titles.
It should answer practical questions quickly. Is the logo centered where it needs to be? Is the left-chest design sized appropriately for a quarter zip? Does the thread color have enough contrast against the fabric? Is the back print large enough to be legible from a distance? Are the correct sizes, product colors, and quantities attached to the correct design?
The proof also creates a shared point of reference between your team and the production team. Verbal descriptions such as “make the logo a little bigger” or “use the dark blue” can mean different things to different people. A written proof turns those preferences into approved production instructions.
The Custom Merch Proofing Process, Step by Step
1. Start with usable artwork and order details
The process begins with your logo file and the details of what you are ordering. Vector artwork, such as AI, EPS, SVG, or print-ready PDF files, generally provides the cleanest results because it can scale without becoming blurry. High-resolution PNG files may work for certain printed applications, but a low-quality image pulled from a website often needs to be recreated or cleaned up before production.
Artwork is only one part of the equation. Your merch partner also needs the product style, garment color, decoration locations, quantity, sizes, and required delivery date. If you are ordering embroidery, the logo may need digitizing so the design can be translated into stitch instructions. For screen printing, the art may need to be separated into production colors.
This is a good time to share how the apparel will be used. A logo for executive dress shirts may call for a smaller, more refined left-chest embroidery. A construction crew's safety shirt may need high-contrast printing and a larger back logo. The right recommendation depends on the work environment, brand standards, and who will wear the item.
2. Review decoration method and product fit
Not every logo or product works equally well with every decoration method. Embroidery delivers a durable, polished look for polos, jackets, hats, and corporate layers, but very fine type or intricate gradients may not translate cleanly into stitches. Screen printing is well suited for bold artwork and larger designs on T-shirts, hoodies, and event apparel. Promotional products may use methods such as pad printing, laser engraving, or full-color digital printing.
A useful proofing conversation addresses these trade-offs before approval. For example, a detailed logo may need simplified text for a small embroidered cap front. A light ink color can look different on a dark garment than it does on a white background. A full-color design may require a different print method than a one-color safety logo.
The goal is not simply to place your artwork on an item. It is to produce a version of your logo that remains readable, durable, and on-brand in the real setting where it will be used.
3. Check logo placement, scale, and orientation
Placement is one of the most common reasons a proof deserves close attention. A left-chest logo should sit in a consistent, professional position across polos, jackets, and button-downs. A full-back print needs enough space around it to avoid looking crowded or disappearing in the folds of the garment. Sleeve logos, cap embroidery, and pocket-area designs have tighter production constraints and should be reviewed carefully.
Scale matters just as much. A logo that is too small can lose detail and visibility. One that is too large can overwhelm a refined garment or look disproportionate across smaller sizes. Proofs typically show approximate dimensions, which gives buyers a practical way to judge the design rather than relying on a general description.
If your order includes multiple garment styles, confirm whether the same dimensions make sense across all of them. A 4-inch-wide embroidery may look right on a men's large polo but feel oversized on a women's fitted style. Sometimes separate sizing or placement is the better choice.
4. Verify colors against your brand standards
Color approval is especially important for organizations with established brand guidelines. Your logo may include Pantone references, specific RGB or CMYK values, or approved thread colors. Production methods and materials can affect the final appearance, so a proof should identify the intended ink or thread colors as clearly as possible.
Embroidery creates color through thread, not printed ink. That means an exact digital color match is not always available, but a close thread match can be selected. Fabric texture and garment color can also change how thread or ink appears. White thread on a light gray polo may be technically visible yet still lack the contrast needed for a strong result.
When brand color is critical, provide your brand standards early and ask for a recommendation if the closest available production color is likely to shift the look. This is far easier to resolve at proof stage than after the order is decorated.
5. Confirm variable data and order accuracy
Many corporate apparel orders include details beyond a single logo. Names, departments, locations, job titles, sponsor logos, event dates, or individualized gift messages all need a second level of review. One misspelled employee name or outdated event date can affect the usefulness of an otherwise perfect order.
Before approving, compare the proof and order information against the source files your team provided. Check the product style number, garment color, logo locations, total quantities, size breakdown, and any personalization. For company web stores, make sure the approved logo files, product images, and decoration options match the standards you want employees to see.
A reliable partner will help organize these details, but the final approver should be someone who can confidently speak for the brand and the order requirements. Bringing in too many reviewers can slow the timeline. Assigning one clear decision-maker usually keeps proofing efficient.
How to Approve a Proof Without Creating Delays
Speed matters, especially when uniforms are needed for a new hire class, a sales meeting, a jobsite rollout, or an upcoming event. The fastest path is a focused review, not a rushed one. Open the proof on a larger screen when possible, compare it with your original artwork, and involve the person responsible for brand approval if your organization has one.
Use clear, consolidated feedback. Instead of sending several small edits from different stakeholders, collect comments into one response. State exactly what needs to change: “Move the logo one inch higher on the back,” “change the thread to the approved navy,” or “remove titles from the name list.” Once the revised proof arrives, review the updated items and approve only when everything is correct.
Avoid approving with vague language such as “looks good, I think” or “should be fine.” Production teams need a direct approval to proceed. Once an order moves into embroidery, printing, or a specialized promotional production process, changes can add cost and affect delivery timing.
Why Proofing Protects Your Brand and Your Budget
A thoughtful proofing process prevents the kinds of issues that are easy to overlook in a rush: a logo placed on the wrong side, a dark imprint on a dark shirt, an old phone number on a giveaway, or a small line of text that becomes unreadable when embroidered. These are not minor details when your employees wear the items every day or customers take them home from an event.
Proofing also supports more accurate scheduling. Production can move forward with confidence once the artwork, product, and specifications are approved. At Stay Sharp Custom Apparel, that clarity helps keep custom orders moving through an in-house embroidery and production workflow with the attention and urgency business buyers expect.
Treat the proof as the final checkpoint where your brand, your product choice, and your operational needs meet. A few careful minutes at this stage can give your team branded merchandise that looks intentional the moment it arrives.


Comments